

Story
From Great Depths
On 11 November 1941, the Royal Australian Navy's light cruiser HMAS Sydney (Il) left Fremantle on escort and patrol duties and was due back nine days later.
The German raider HSK Kormoran was off the West Australian coast, taking care to avoid warships while on the hunt for allied merchant vessels and planning to lay mines. Late in the afternoon on 19 November, about 100 nautical miles off Shark Bay, the two ships met by chance.
In the ensuing battle, both ships were sunk. Eighty-one men from Kormoran were killed and 318 survived, but all 645 on Sydney were lost.
This was the worst naval disaster in Australia's history.
Families and communities all across the country grieved for the men who had simply vanished. There was shock and disbelief at the complete destruction of this famous warship by an apparently inferior opponent.
The location of Sydney was to remain a mystery for more than 66 years. In 2008, the Finding Sydney Foundation, working with shipwreck expert David Mearns, found the wrecks of both ships off Shark Bay at the great depth of 2,500 metres.
Images from the 2008 expedition provided the first visual insights into the fate of the ships. Since then, advances in subsea imaging technology have been dramatic.
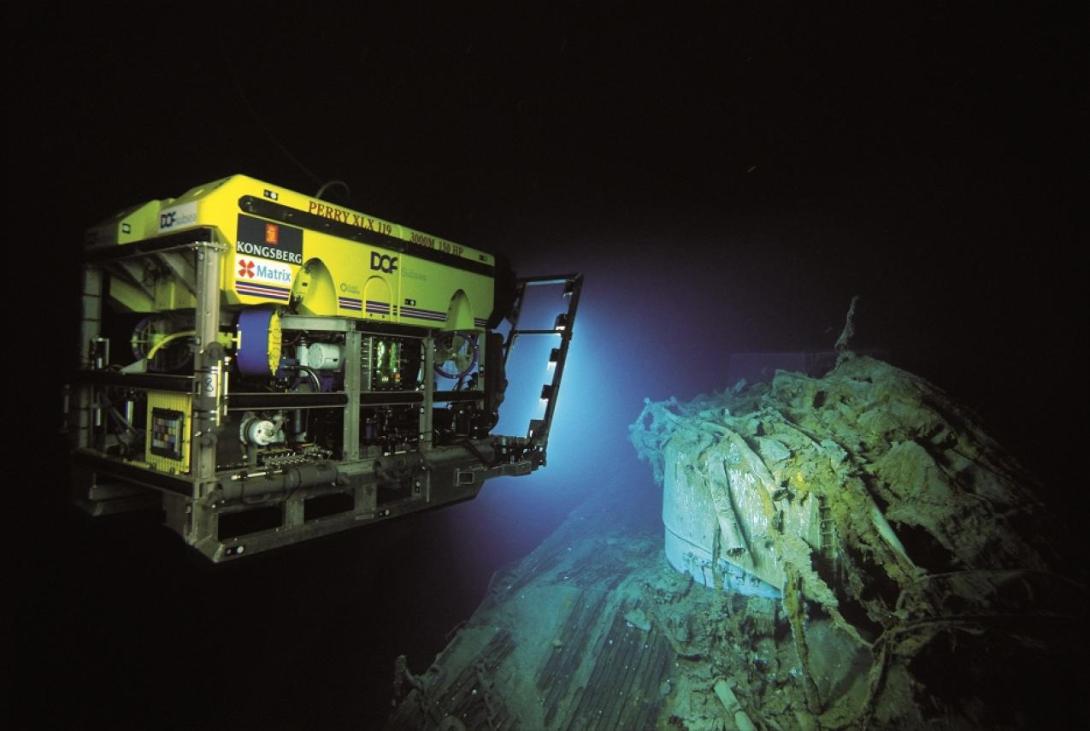
In 2015, WA Museum and Curtin University, with DOF Subsea, formed a partnership to go back to the wreck sites.
A Lethal Deception
For decades, Australians have struggled to comprehend how a celebrated warship could be defeated by a converted merchant vessel. How is it possible that all Sydney's men were lost, while most from Kormoran survived?
The German ship may have looked like a harmless freighter, but was powerfully armed and skilfully efficient in the arts of disguise. With systems including hydraulics to conceal guns, it could de-camouflage and fire within seconds. At close range Sydney was in great danger, its superiority negated as Kormoran seized the advantage of proximity and surprise.
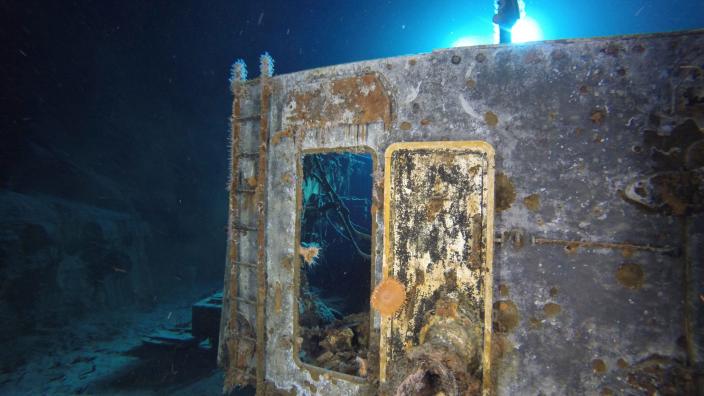
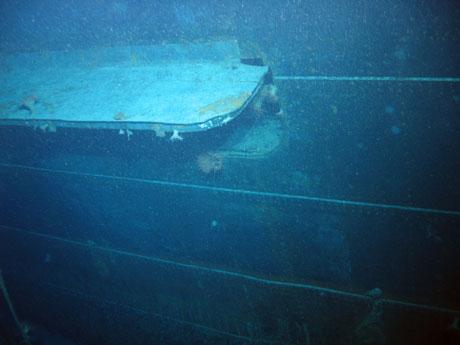
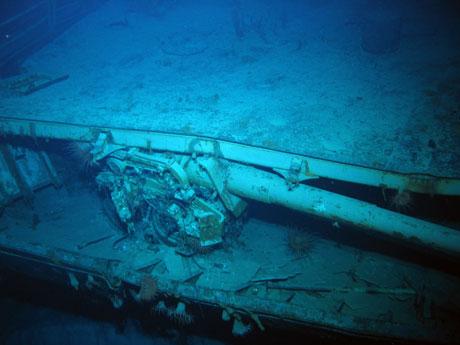
On the Kormoran wreck, we can see twin torpedo tubes. They were above the waterline on the ship and hidden behind hinged, counterweighted steel plates which were raised when the disguise was dropped.
Broken
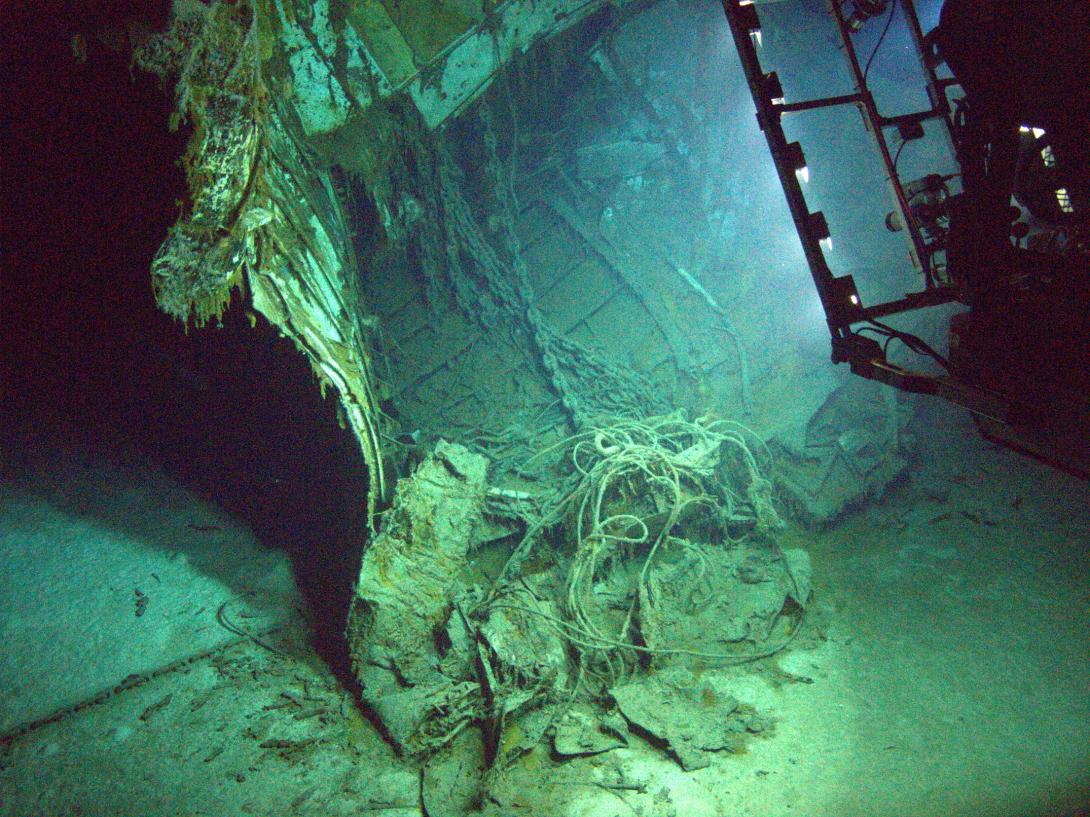
A torpedo struck Sydney on the port side, about twenty metres from the front of the ship. The bow flooded and broke off. Filled with water and weighed down by the huge anchors and massive anchor chain, it dropped over two kilometres to the seabed. There it stands, upside down, about 400 metres from the rest of the ship.
The jagged edges of the broken bow testify to the tremendous violence of a warship being torn apart.
On Target
Sydney's main armament comprised eight
6-inch guns housed in four twin-gun turrets, two forward (A and B turrets at the front of the ship) and two aft (X and Y turrets at the rear).
At action stations, there were twenty men inside each turret.
German survivors attested it was X turret that scored the decisive strike on Kormoran. Shells from X turret hit the engine room causing the damage and fire that led to the decision to abandon and scuttle the German raider.
With Deep Regret I Have To Inform You...
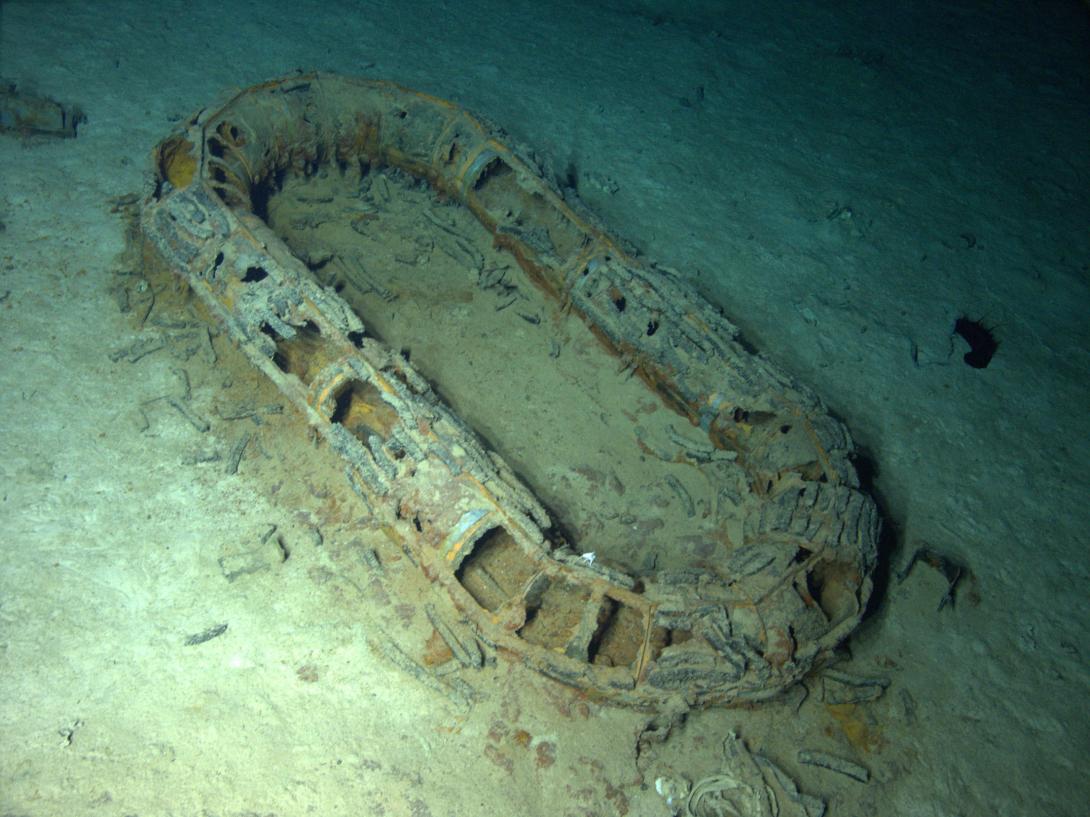
Sydney had on board eight ship's boats and seven to nine oval-shaped life rafts known as Carley floats. Despite this life-saving capacity for hundreds of men, there were no survivors.
After suffering catastrophic damage from shell hits, small-arms fire and a torpedo, Sydney was, ablaze.
It is likely that the boats and Carley floats not blown off in the battle were mostly useless - damaged, inaccessible due to the raging fires or, in the case of some of the boats, unable to be lowered with the crane out of action.
For any Sydney men who may have been still alive after the encounter with Kormoran, prospects of survival were bleak. Four long days passed before a search began, when news of the sighting and rescue of German seamen brought the realisation that something had happened to the Sydney.
Two Carley floats are known to have made it off the ship. One was found floating, empty, a week after the battle. A few months later, a float carrying the body of a sailor was recovered off Christmas Island.
The first journey down to the wrecks in 2008 captured a forlorn image of two ship's boats lying together, one on top of the other.
The 2015 expedition saw that the top boat had since collapsed, indicating that timber has a limited life on the ocean floor and the boats will eventually disappear.
The Kill List
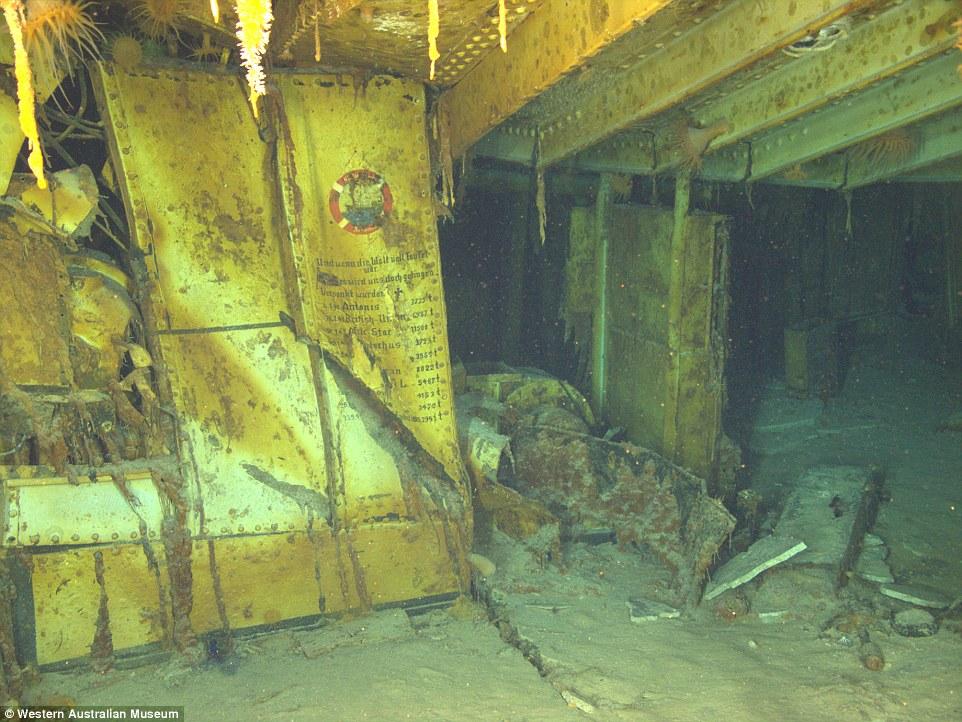
The Kormoran crew had celebrated their successes by painting a victory tally with the names and tonnage of the ships they had sunk, making sure to leave room for more. The fatal battle west of Shark Bay put an end to the destruction the German raider had wreaked on allied ships.
Explosive Evidence
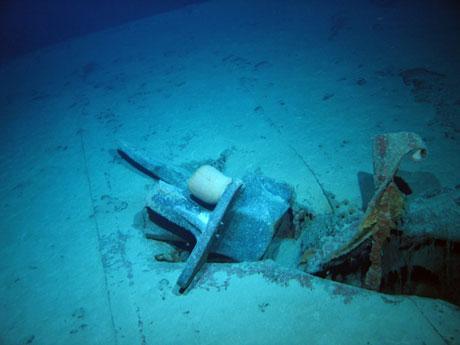
The stock of the huge cast steel starboard anchor lies on the foredeck of Kormoran, sheared off by extraordinary force. Remarkably, the missing part of that anchor is almost one-and-a-half kilometres away. There, upside down on the seabed, lies the midships section of the hull where the engine room was located. The crown of the anchor appears to be embedded in the steel plate.
After the battle with Sydney, Kormoran was fatally compromised: ablaze amidships, fire-fighting equipment destroyed, the cargo of mines threatened by fire and the engine room out of action. Charges were laid and the surviving officers and crew abandoned the ship, soon to see it erupt into a vast sheet of flame.
When Kormoran blew up, did the anchor act as a missile travelling at tremendous speed? Or did the midships section and the bow collide as they sank?
However it happened, this is a compelling insight into the huge destructive forces unleashed when the ship exploded.
Great Depth and Total Darkness
Most known shipwrecks are in shallow water exposed to light and current, are eventually encrusted with a rock-hard accretion of marine growth, shells and rust, and settle into the sand as it silts up around them.
These two wrecks are in a very different place and remarkably well-preserved. They lie as they fell, two-and-a-half kilometres below the surface. It is cold, completely dark, the weight of the seawater exerts enormous pressure and there is relatively little oxygen. It is very still. Even the indentations made in the sand when the ships struck the seabed appear to have hardly altered over the decades.
Original paintwork is still there. The violence of the battle is everywhere. We see the paint blistered off in the heat of a shell's deceleration as it penetrated Sydney's armour plating. Where the paint is gone and the metal traumatised, a halo of rust appears.
Crushed
Mines that survived the sinking of Kormoran now rest on the seabed, most crushed by the pressure of great depth.
It can now be clearly seen that one of the mines is fitted with its 'striker horns', indicating that it was soon to be deployed. Sydney made sure those mines were never laid.
The greatest possible freedom is given to Commanders for the laying of mines.
The mines are to be sown in such a way that the element of uncertainty prevails in the most varied points of the enemy sea-lanes and their junctions.
Operational orders, HSK Kormoran
Exposed
Sydney had four 4-inch guns, two on each side of the ship, mainly for anti-aircraft defence but also able to be used against nearby surface targets.
Kormoran's incessant fire raked the deck of Sydney and tried to prevent the 4-inch guns being brought to bear against them.
Kormoran signals officer Reinhold von Malapert later spoke of his admiration for the bravery of the Australians who ran across the deck to attempt to man the unshielded guns.
Transformation
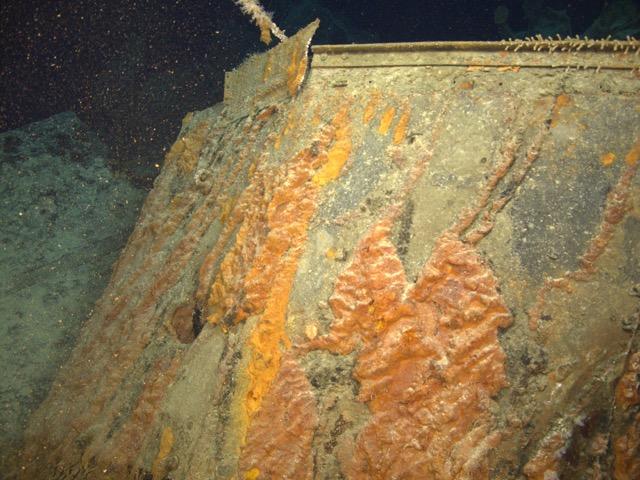
Striking red, orange and brown rust formations on both ships are habitats for bacteria, They feed on the rusting metal and produce mineral compounds to help form what are called rusticles, a protective micro-environment providing everything they need for life.
While the processes are not fully understood, variations in the rusticles appear to indicate that the way the two wrecks are corroding is not the same, One suggestion is that the force of the explosion on Kormoran may have disrupted the very structure of the steel itself, changing the way oxygen can interact with the iron and creating different corrosion patterns.
The Walrus and the Seastar
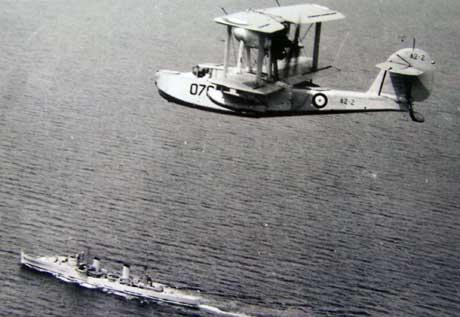
In 1941, Sydney carried a Supermarine Walrus, an amphibious biplane launched by catapult. At the end of a flight at sea, the plane touched down on the water and was hoisted aboard by crane and stowed on its catapult cradle. The Walrus had a
'stabiliser float' under each of its lower wings.
An intriguing, boat-shaped object now visible on the seabed is one of those floats.
Some German accounts tell of the Walrus being hit early in the battle, setting its fuel tanks alight and igniting more fires as burning fuel spread across the decks. Given the destruction of the plane, it is almost certain that the remaining float was the spare carried on board.
With a deep sea seastar now perched upon it, it is a reminder of the six Royal Australian Air Force men lost on the Sydney.
Life
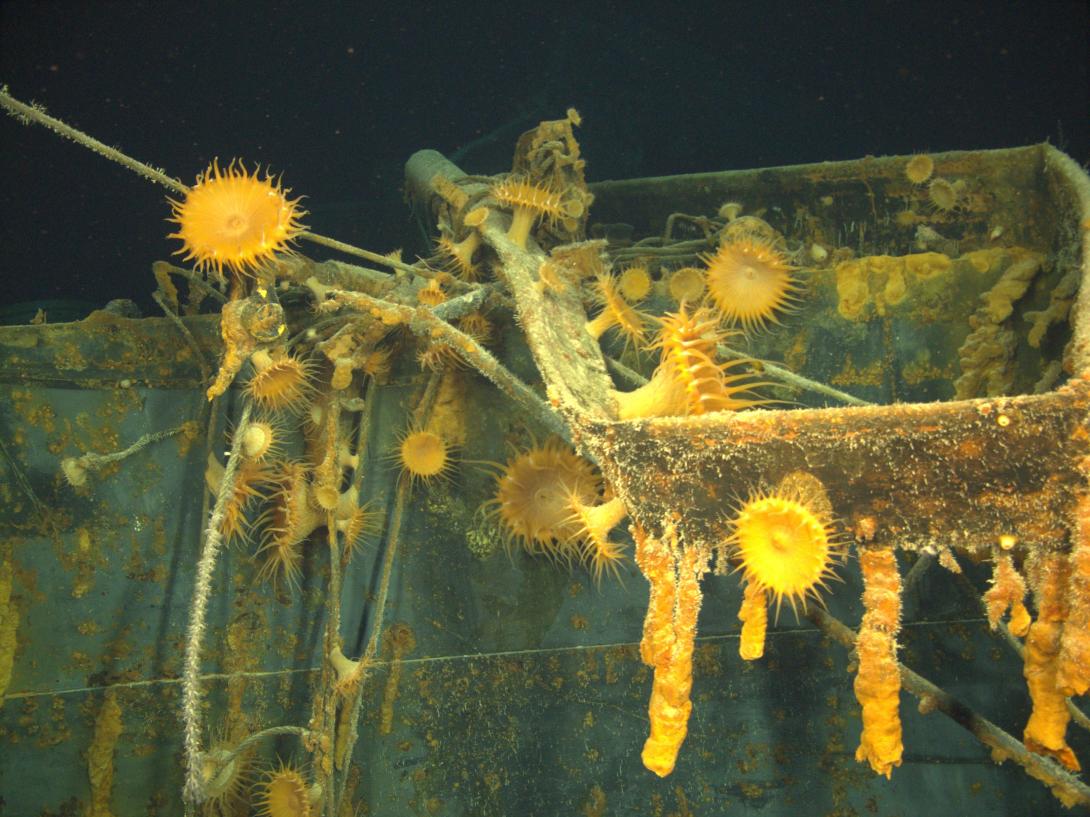
On Kormoran, colourful anenomes grow in great profusion. Built as a merchant vessel and not a warship, Kormoran is made of lower-grade steel which has more impurities. Like many plants, these anenomes love phosphorus and find plenty of it on the German ship. Sydney was built to military specifications and the composition of its higher-grade steel makes it more difficult for marine organisms to flourish.
The ships are slowly interacting with their environment, changing it and being changed by it.
There is no light in the deep place where the wrecks lie, but there is life.
MAKE IT YOUR OWN