Armed and Ready
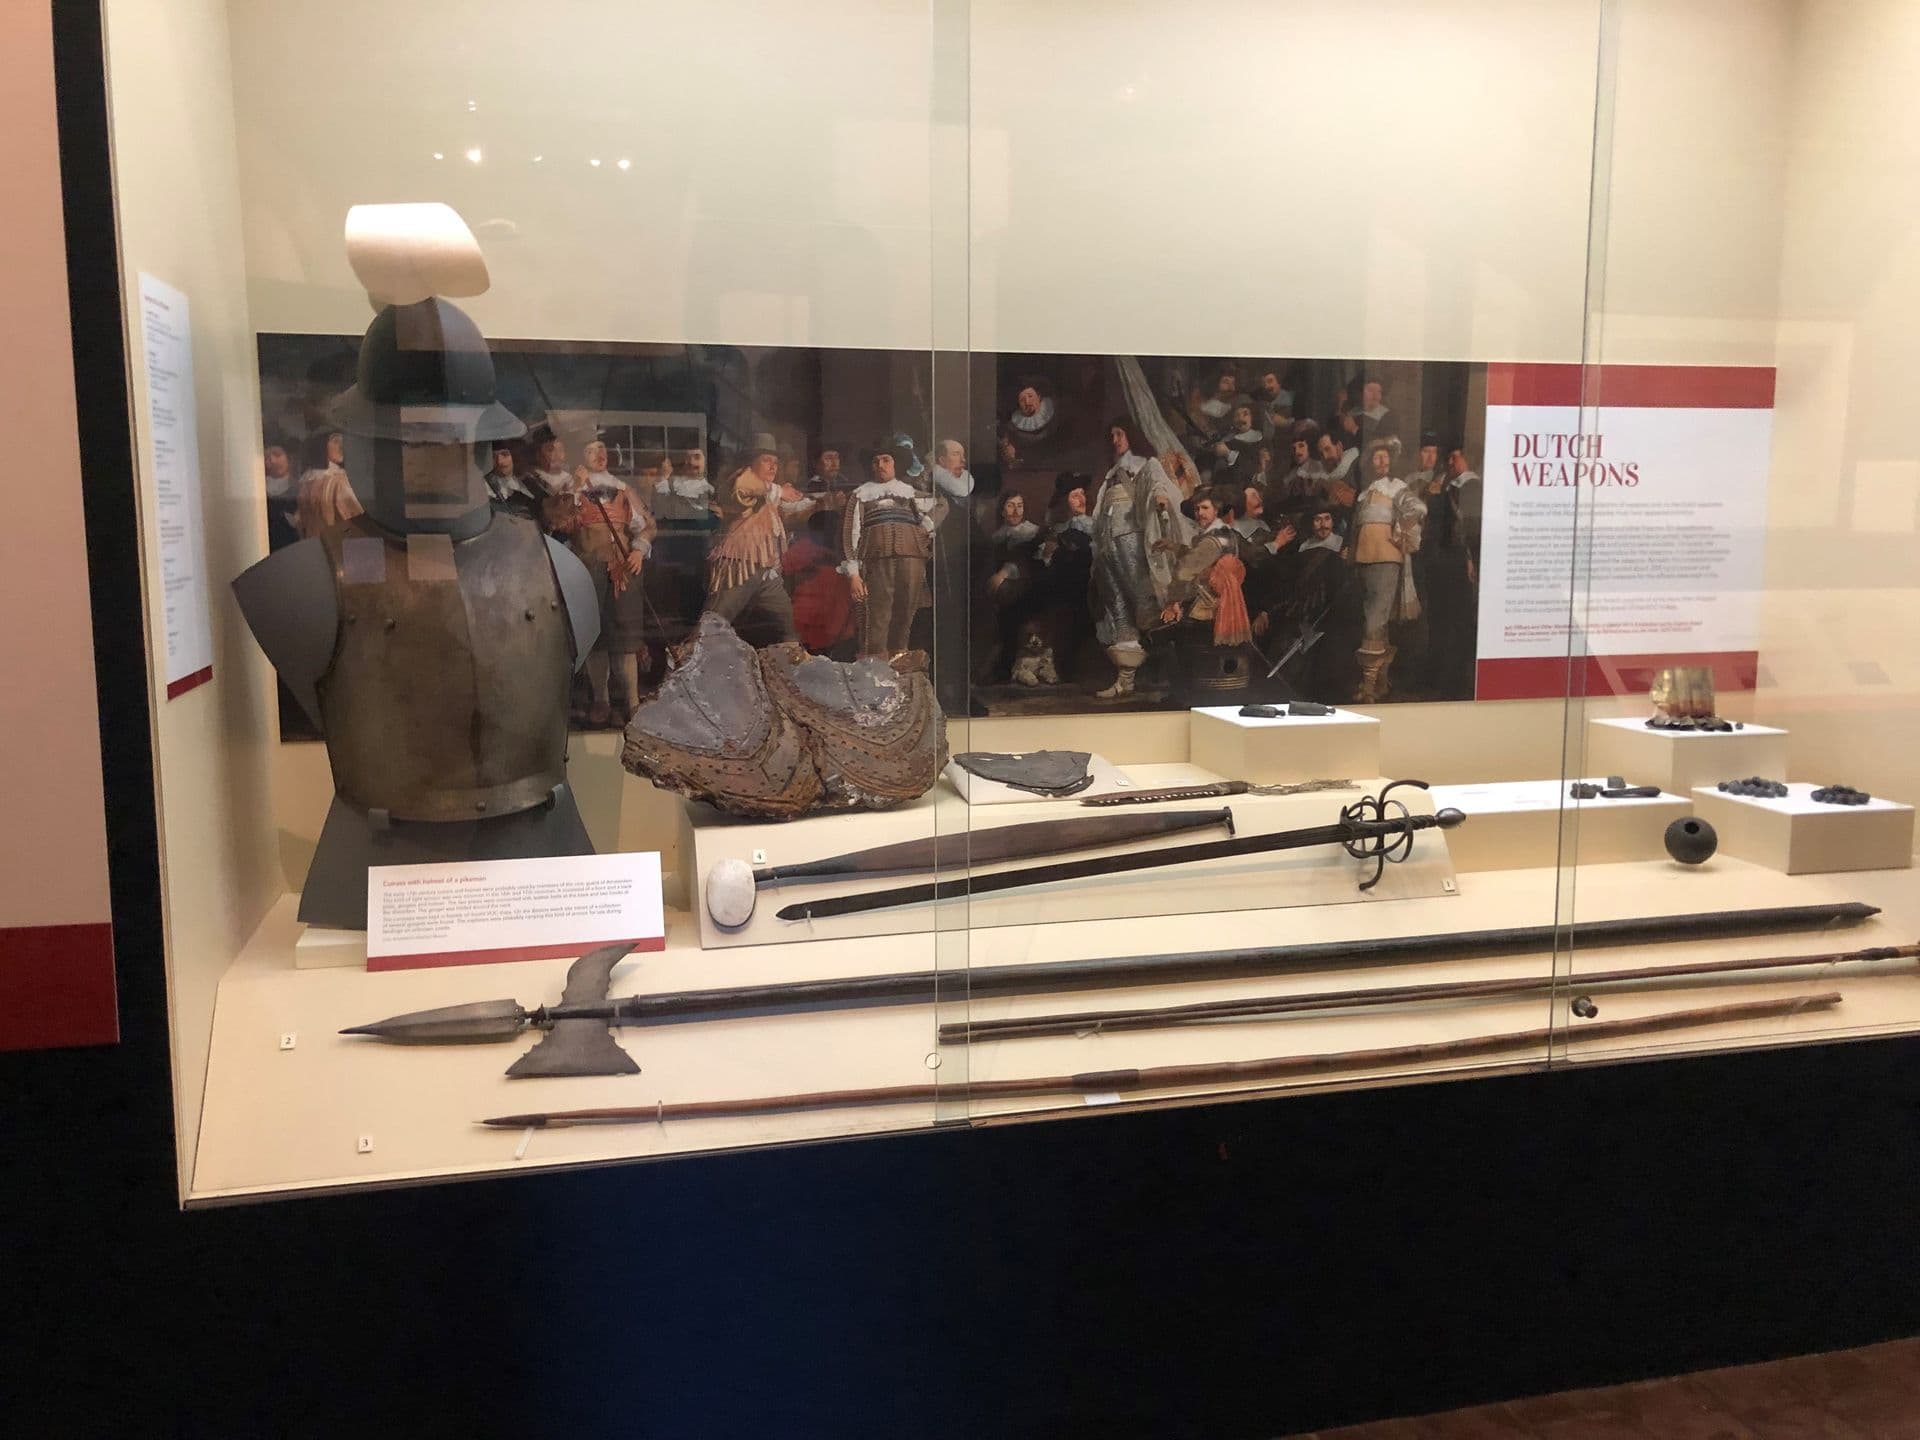
The Weapons Cabinet. But What is a First Nations 'Fire Stick'?
The Western Australian Museum acknowledges and respects the Traditional Owners of their ancestral lands, waters and skies.
Aboriginal and Torres Strait Islander peoples are advised that this digital guide may include images, sounds, and names of now deceased persons.
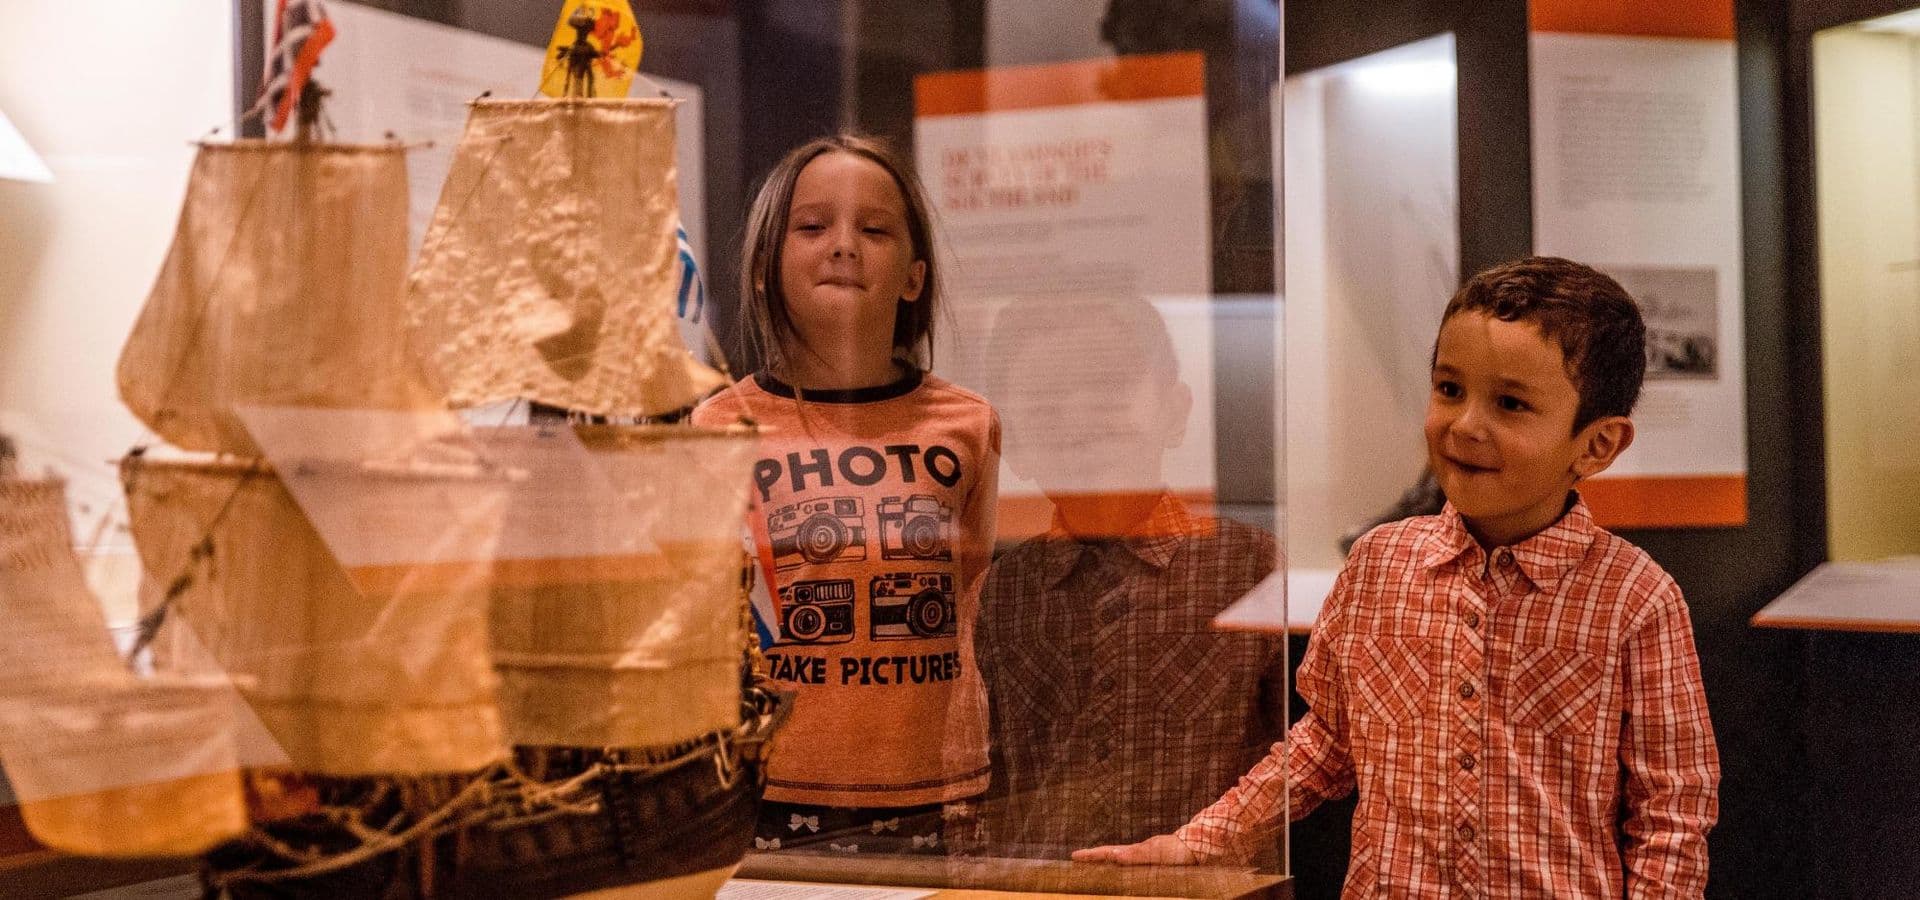
This gallery features artefacts, charts, documents and books from Australia's early Dutch explorers. It explores the journeys of Hartog through to de Vlamingh showcasing 100 years of Dutch explorations of Australia.
The Hartog to de Vlamingh Gallery also features the de Vlamingh plate, the replica Duyfken, and a replica of the original Pelsaert’s journal – which documented the horror of the Batavia mutiny.
The gallery's floor is built from wooden blocks made of jarrah, a local Western Australian timber crucial to the development of the State. These formed part of the Museum’s original convict-constructed building.
The Weapons Cabinet. But What is a First Nations 'Fire Stick'?
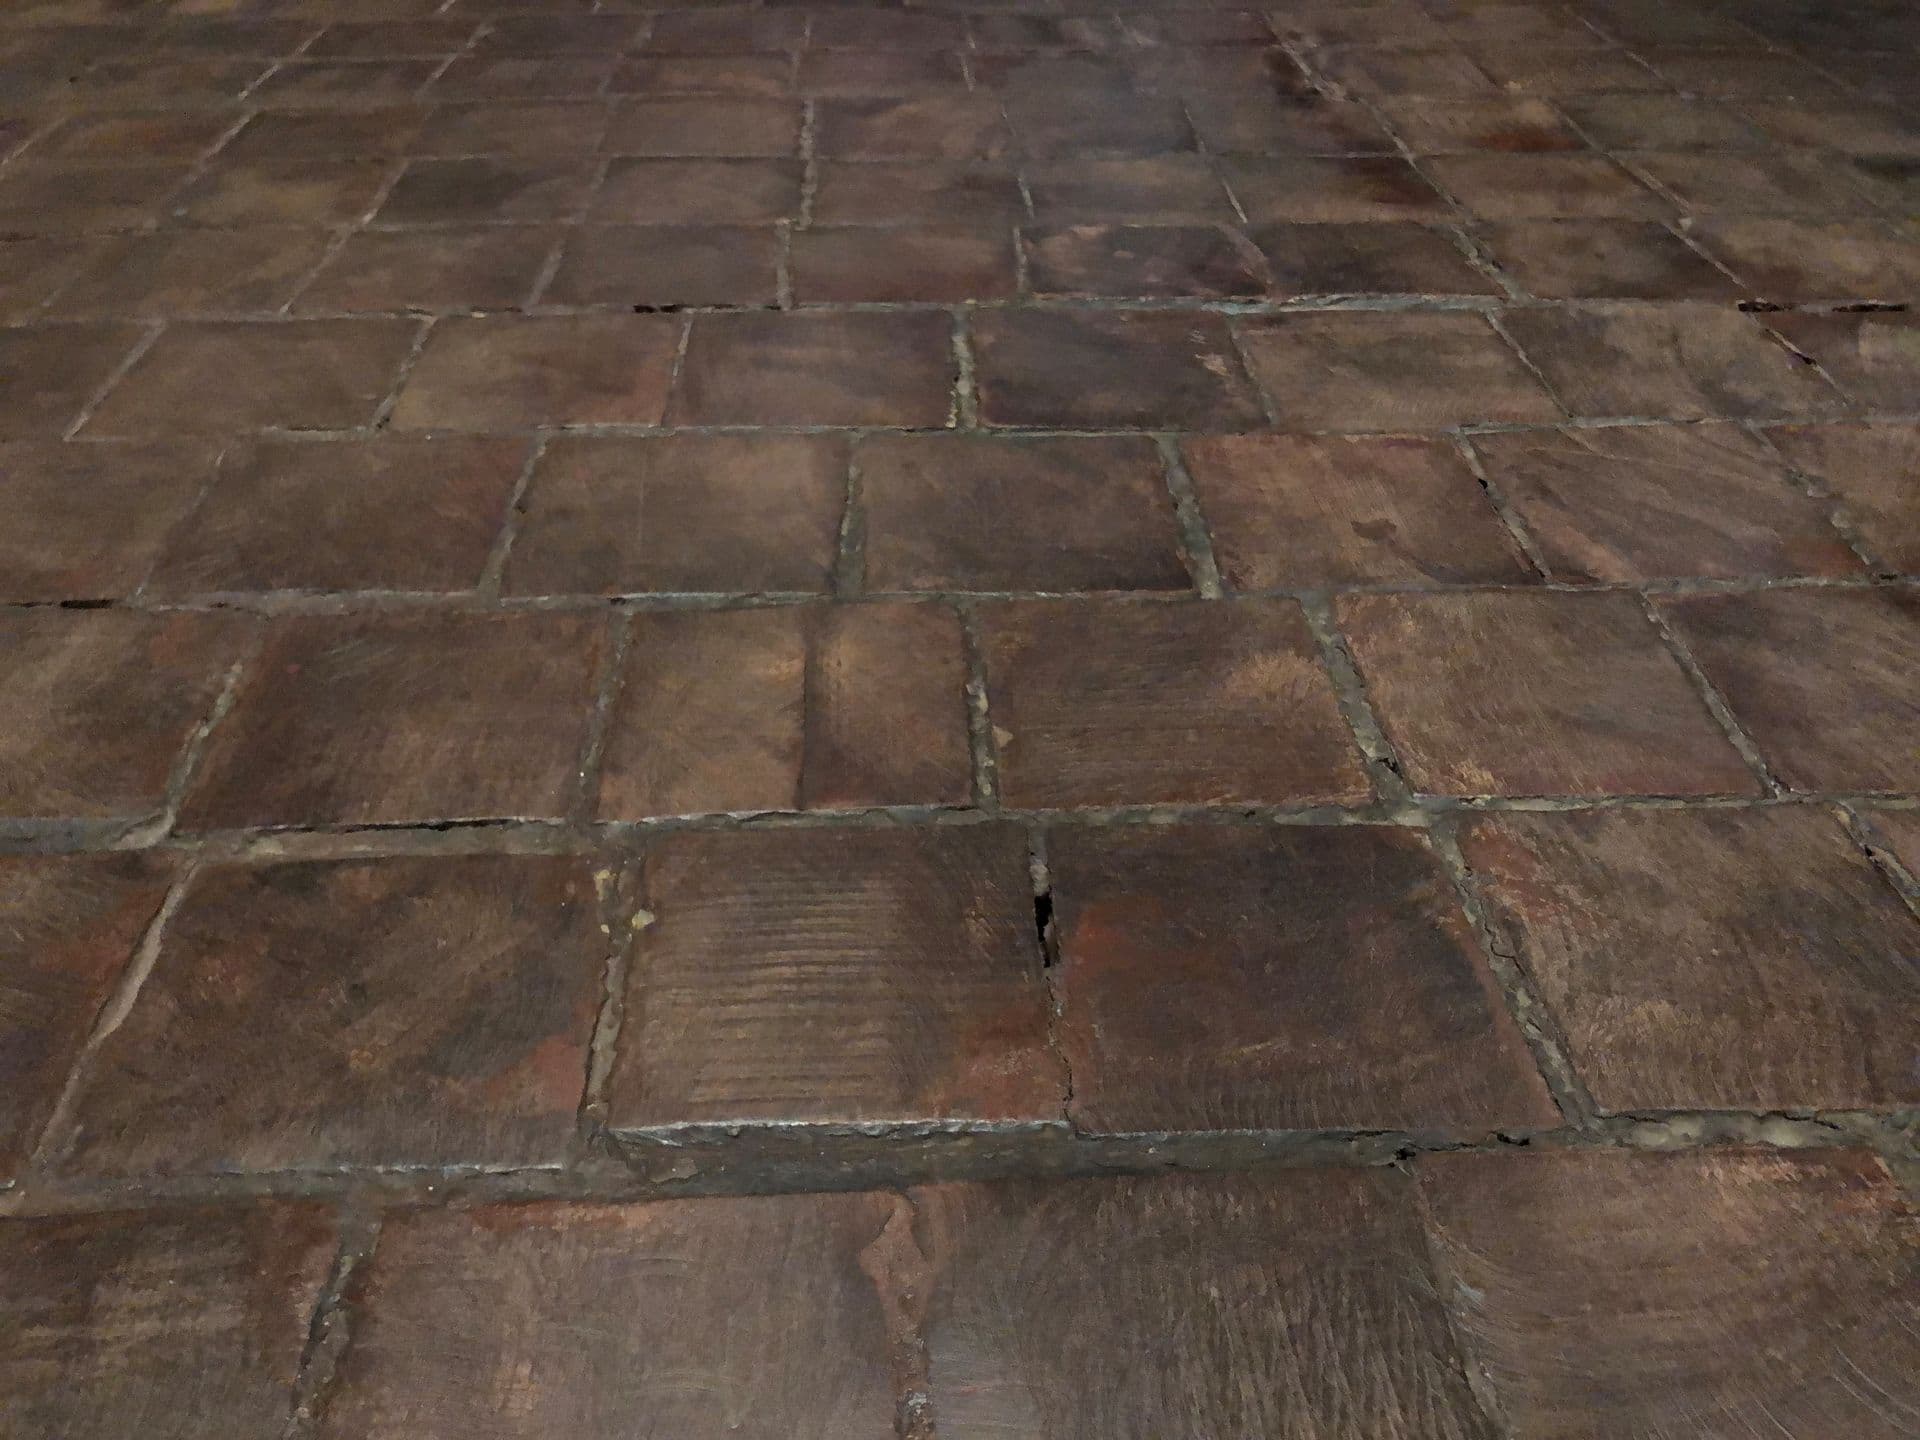
Look down at what you are walking on.
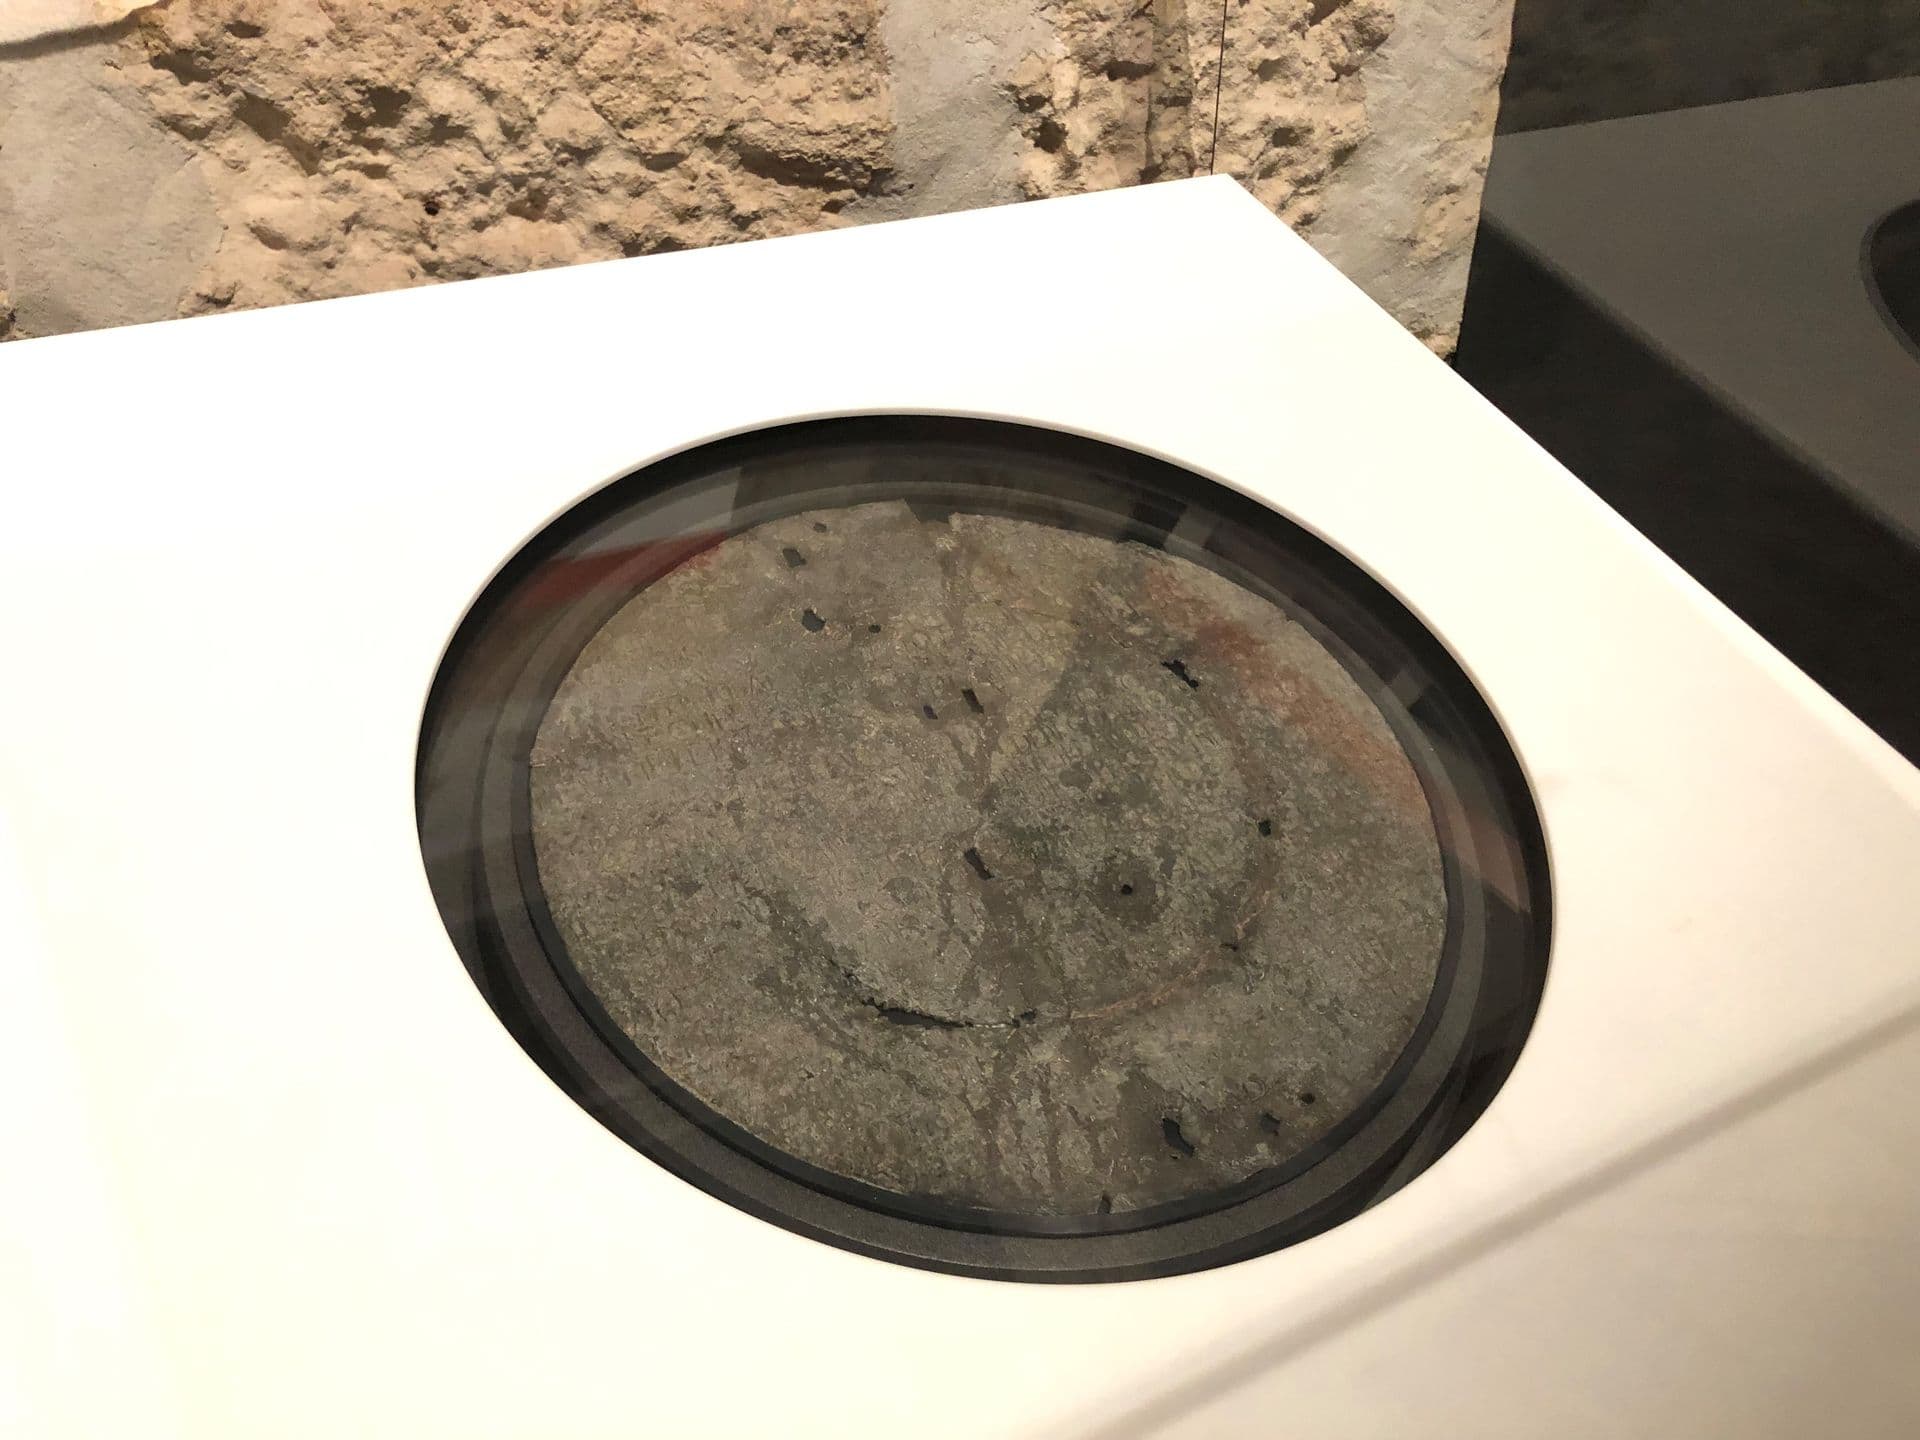
de Vlamingh Plate
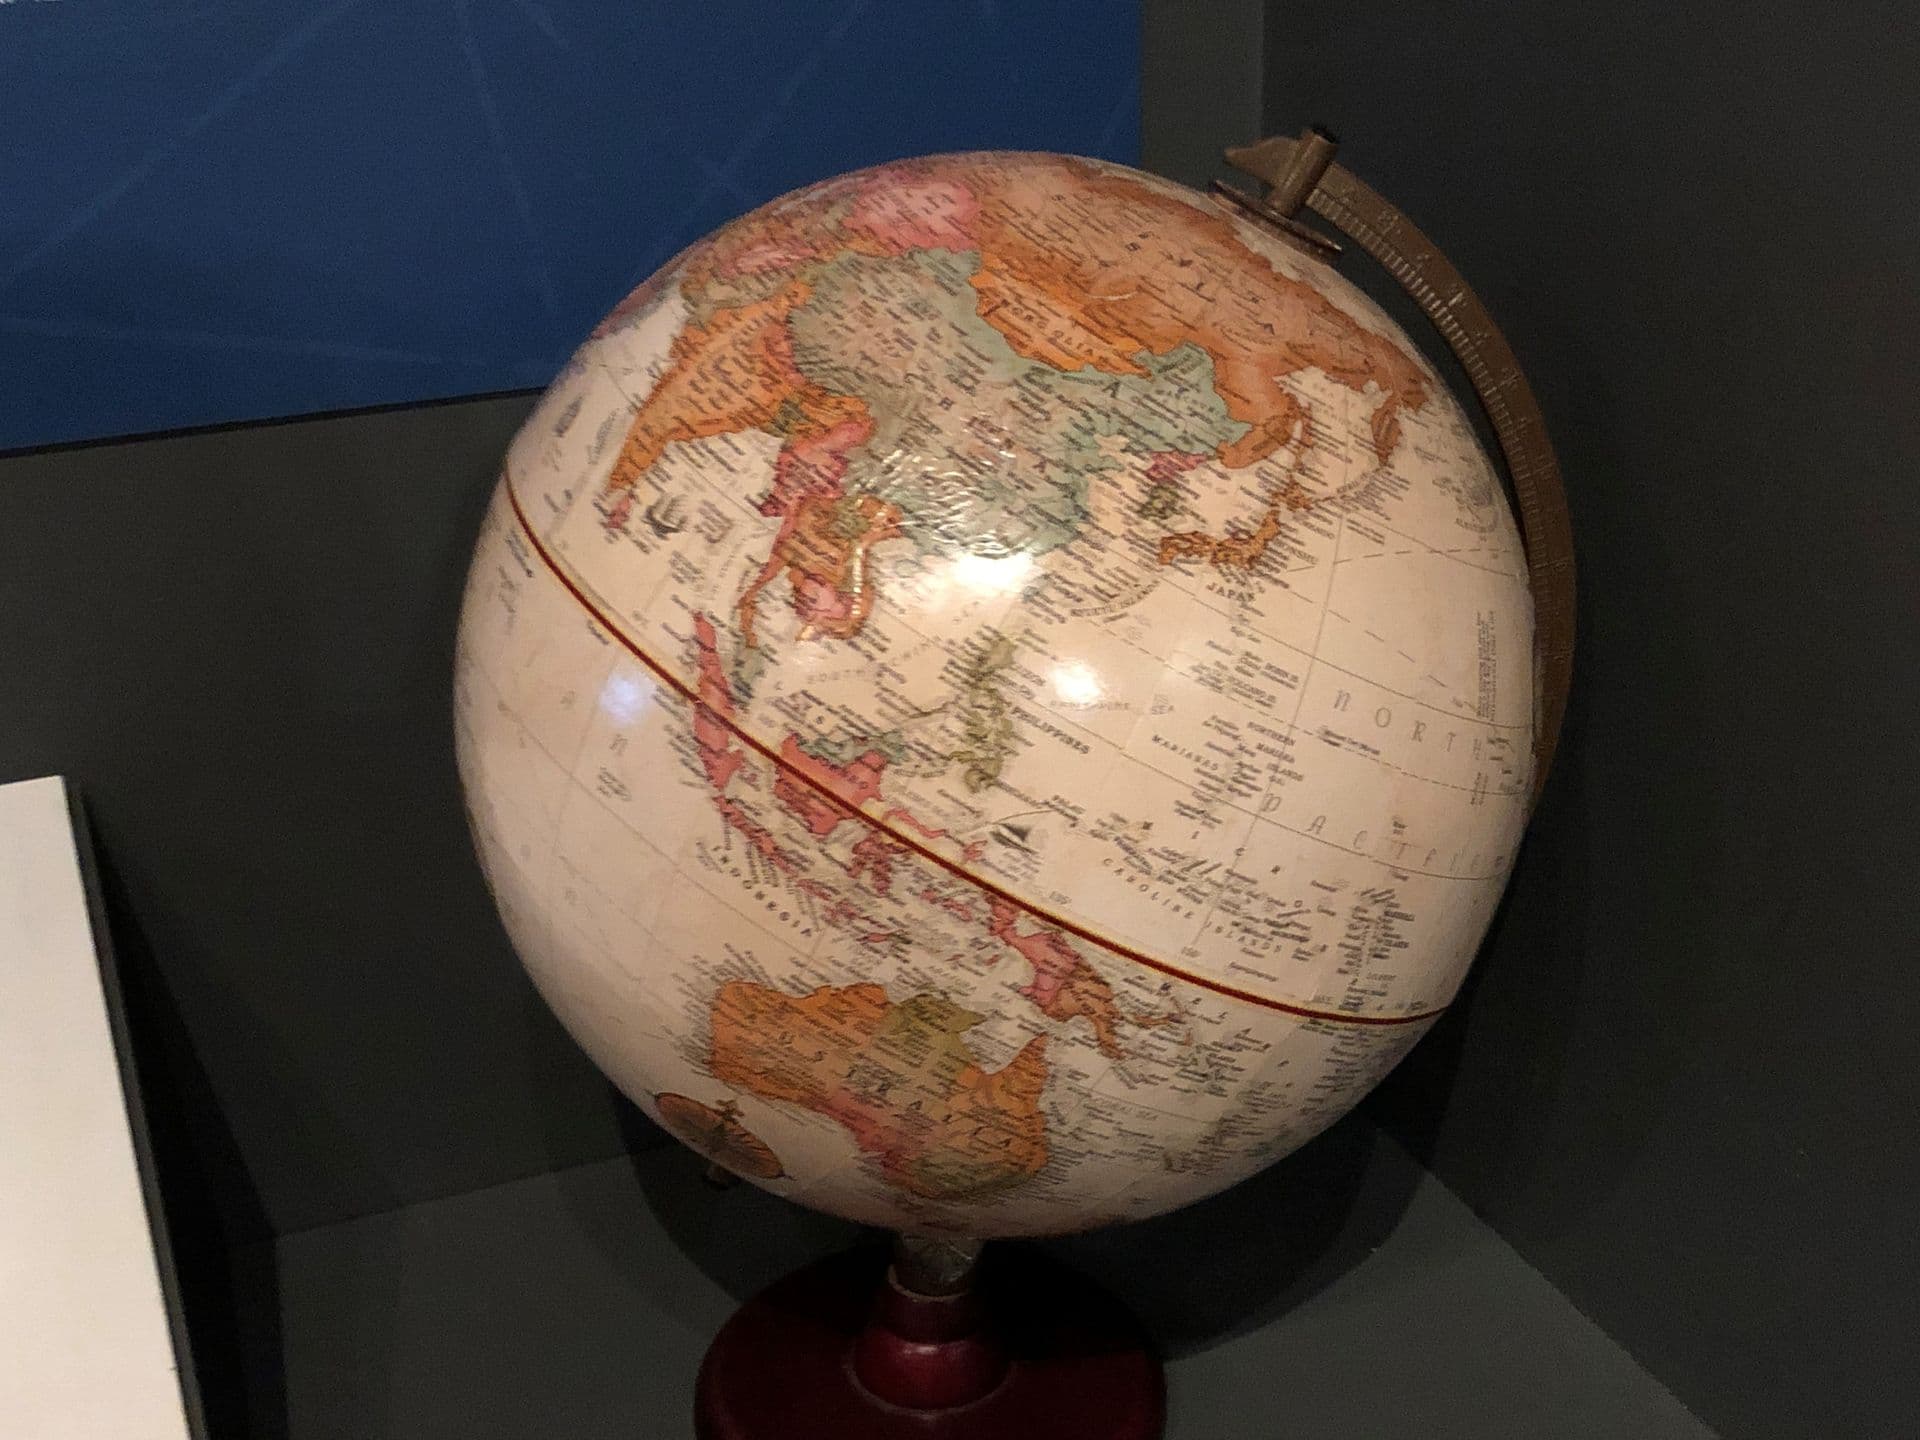
Easy on your eyes
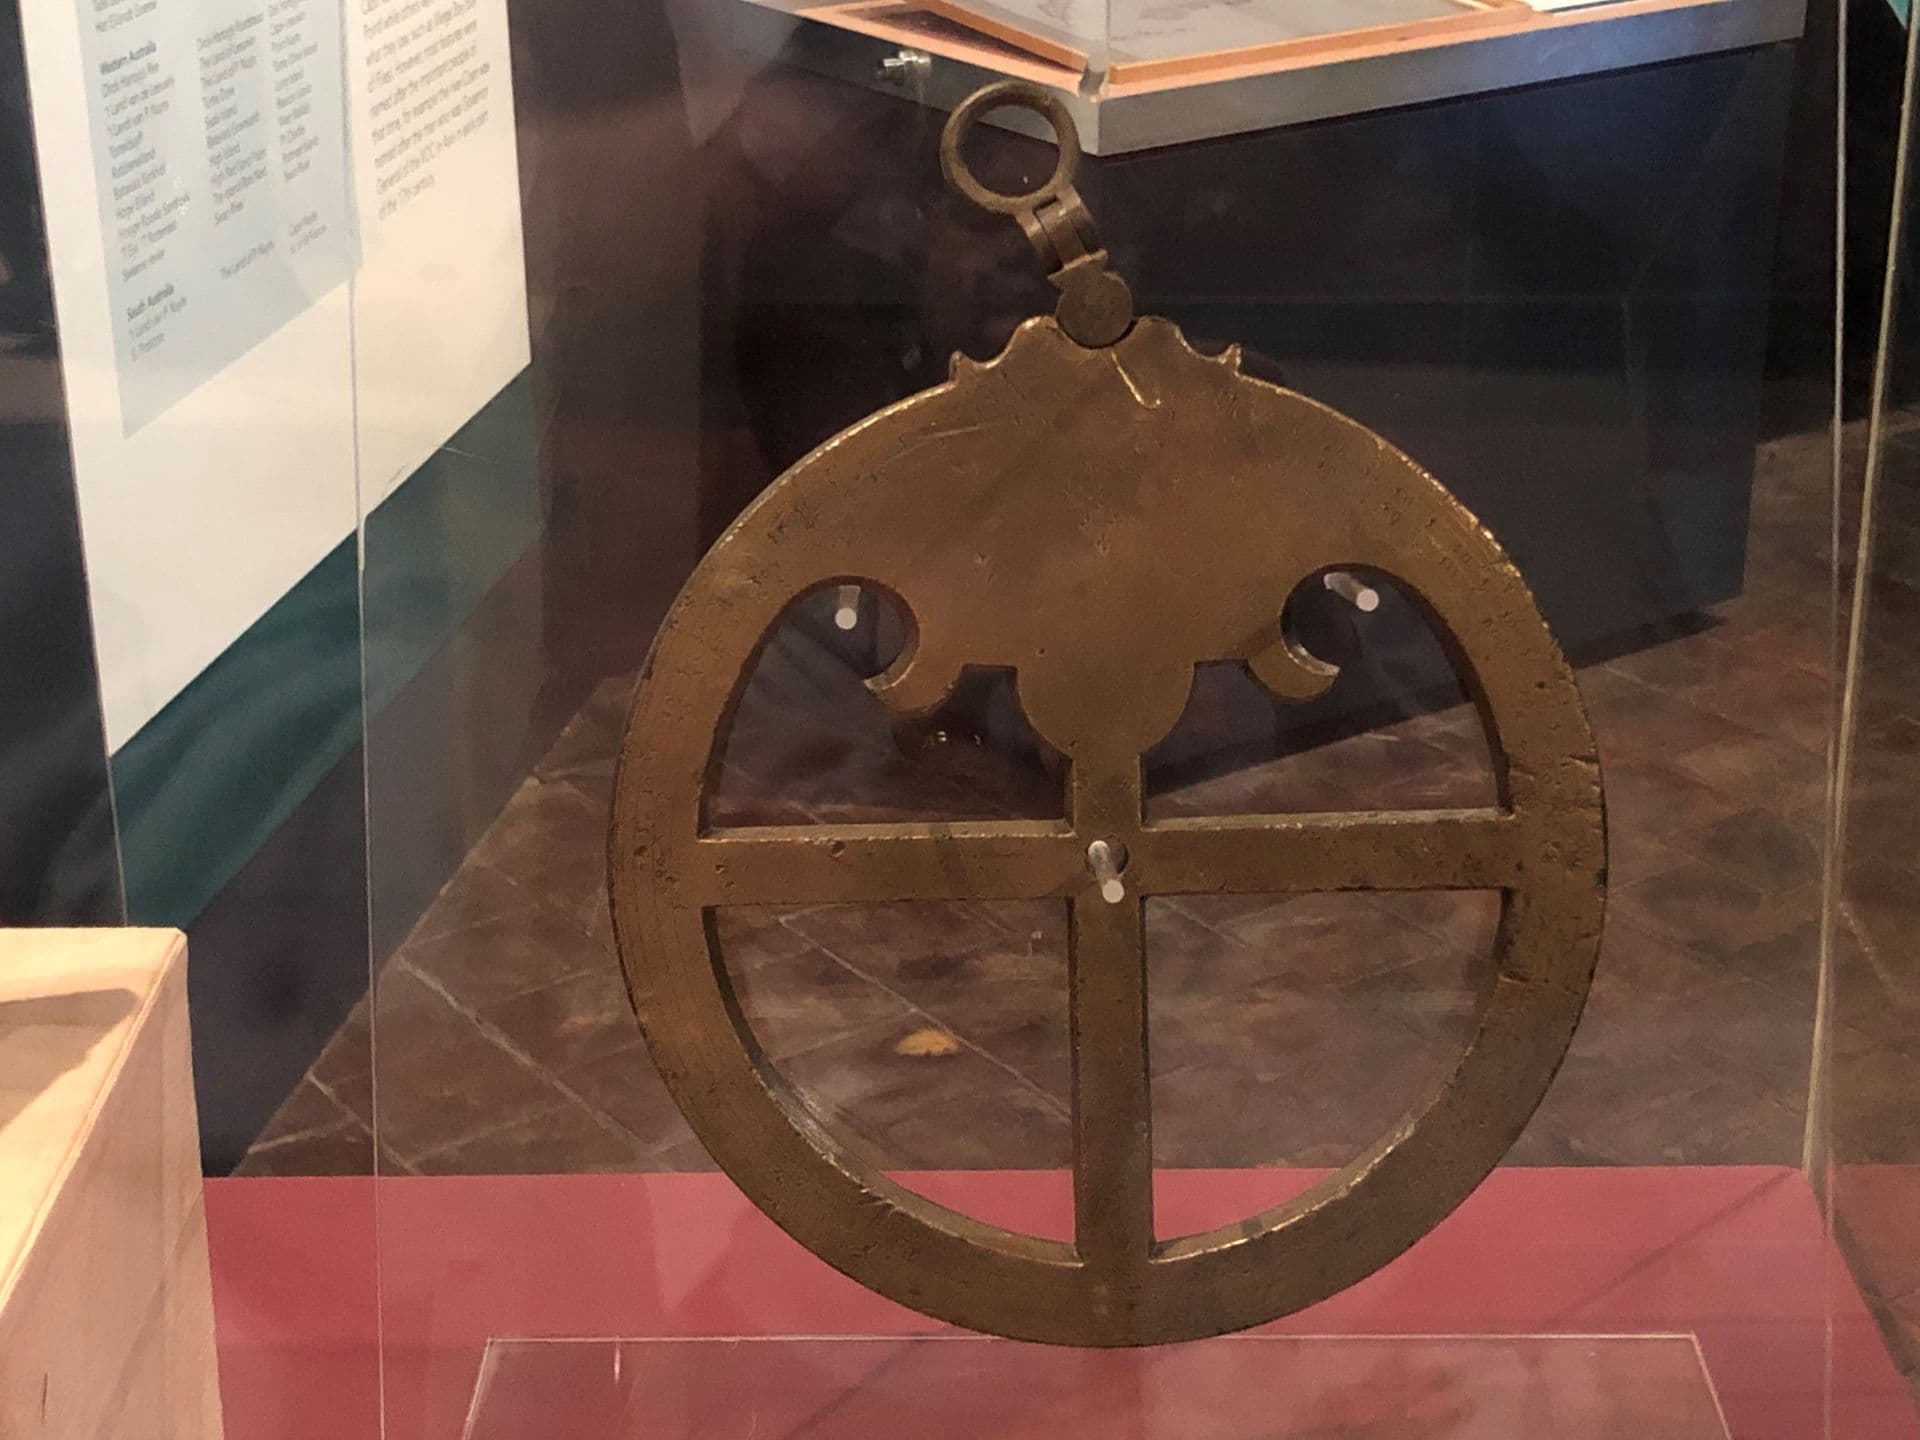
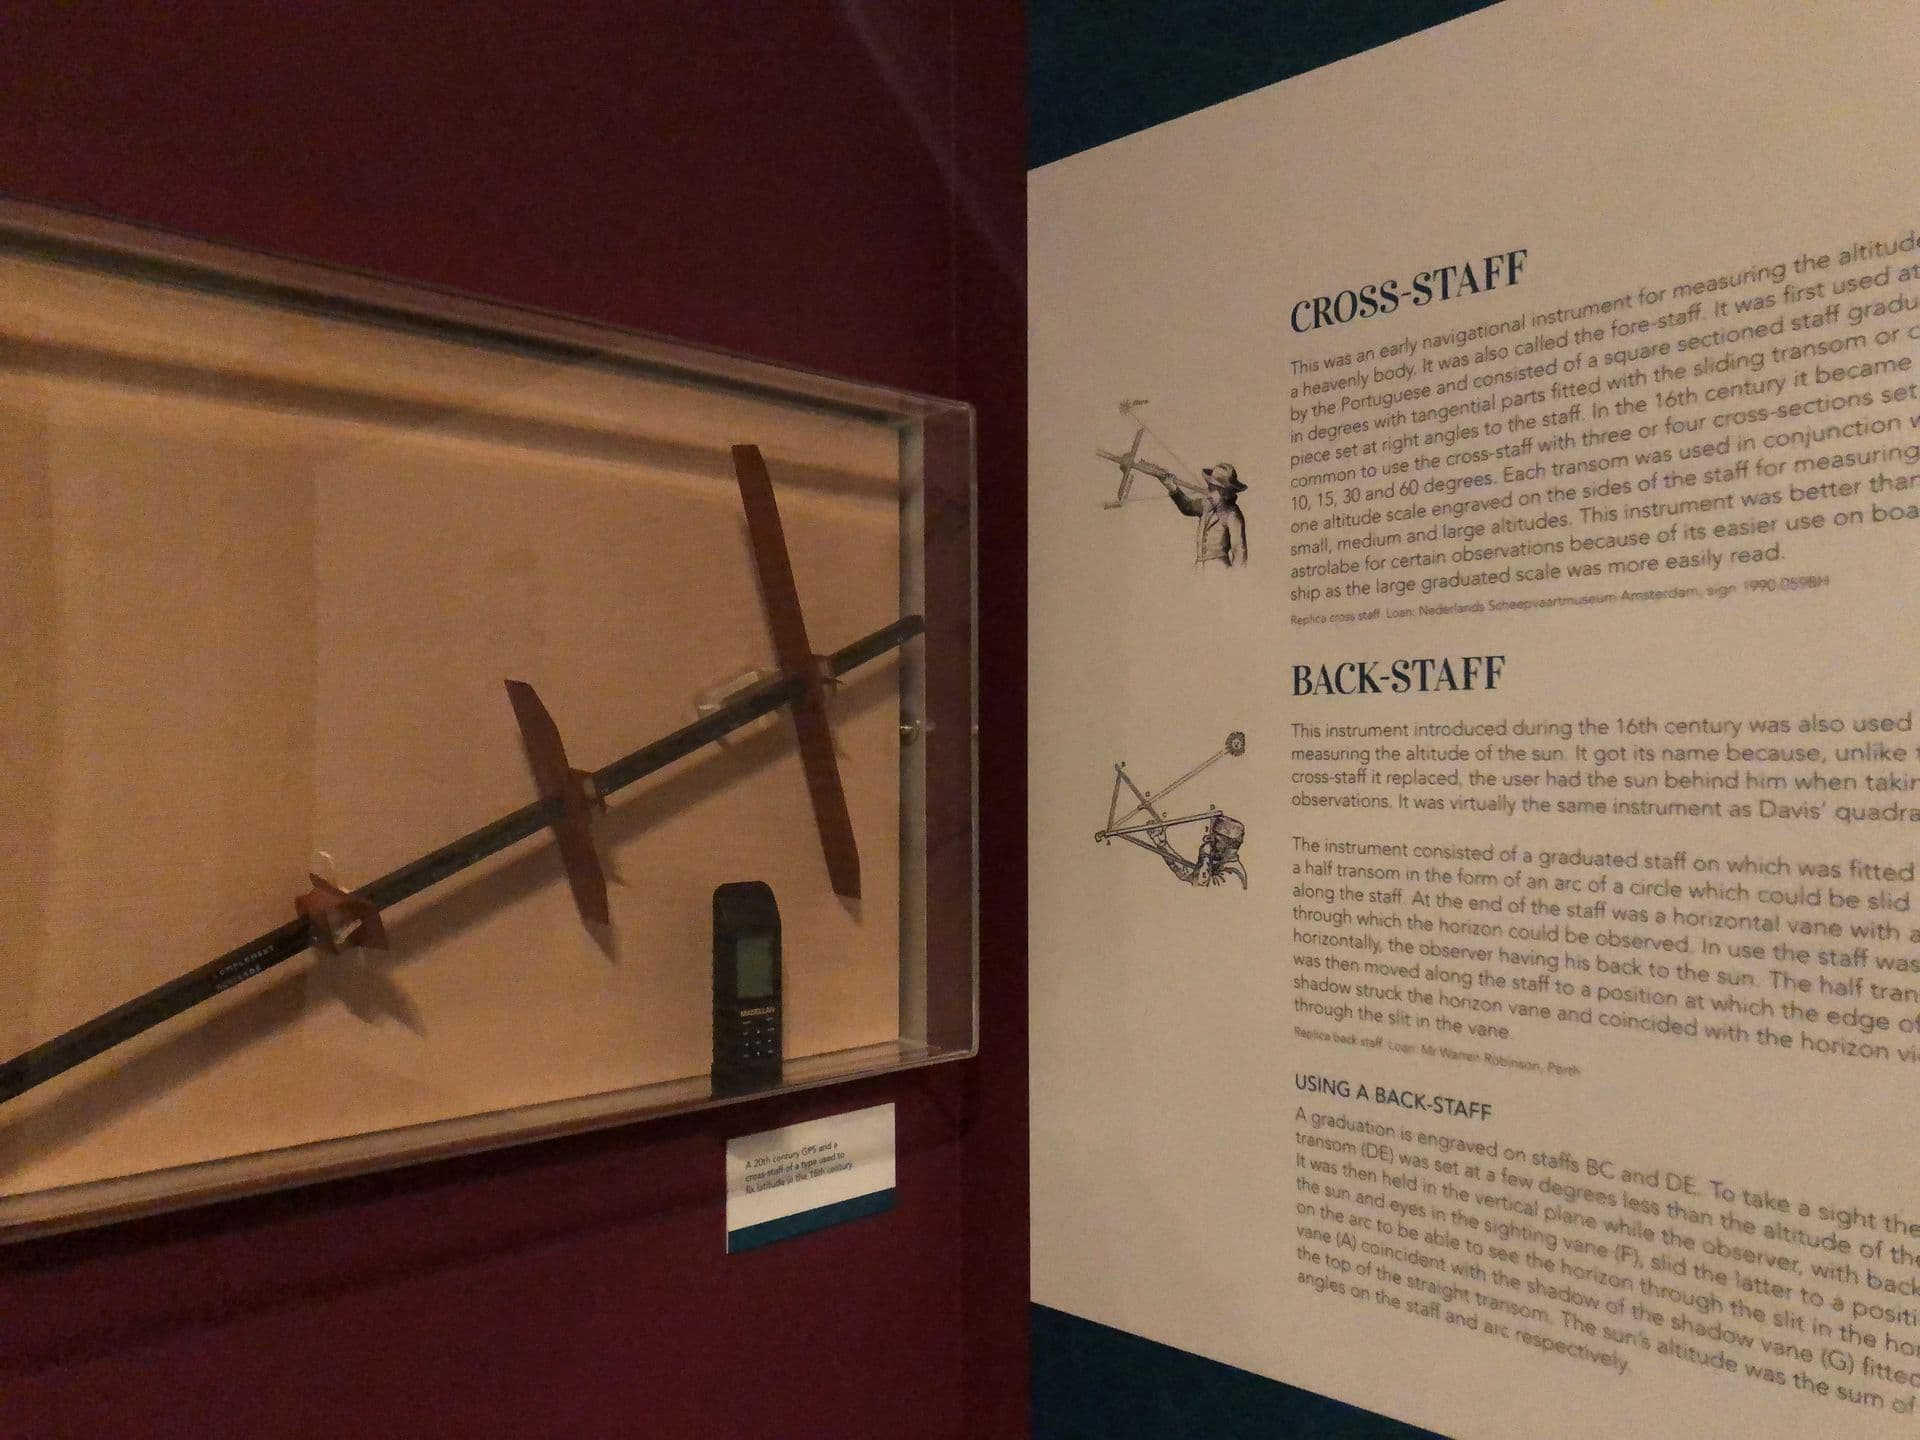
Measuring the Heavens
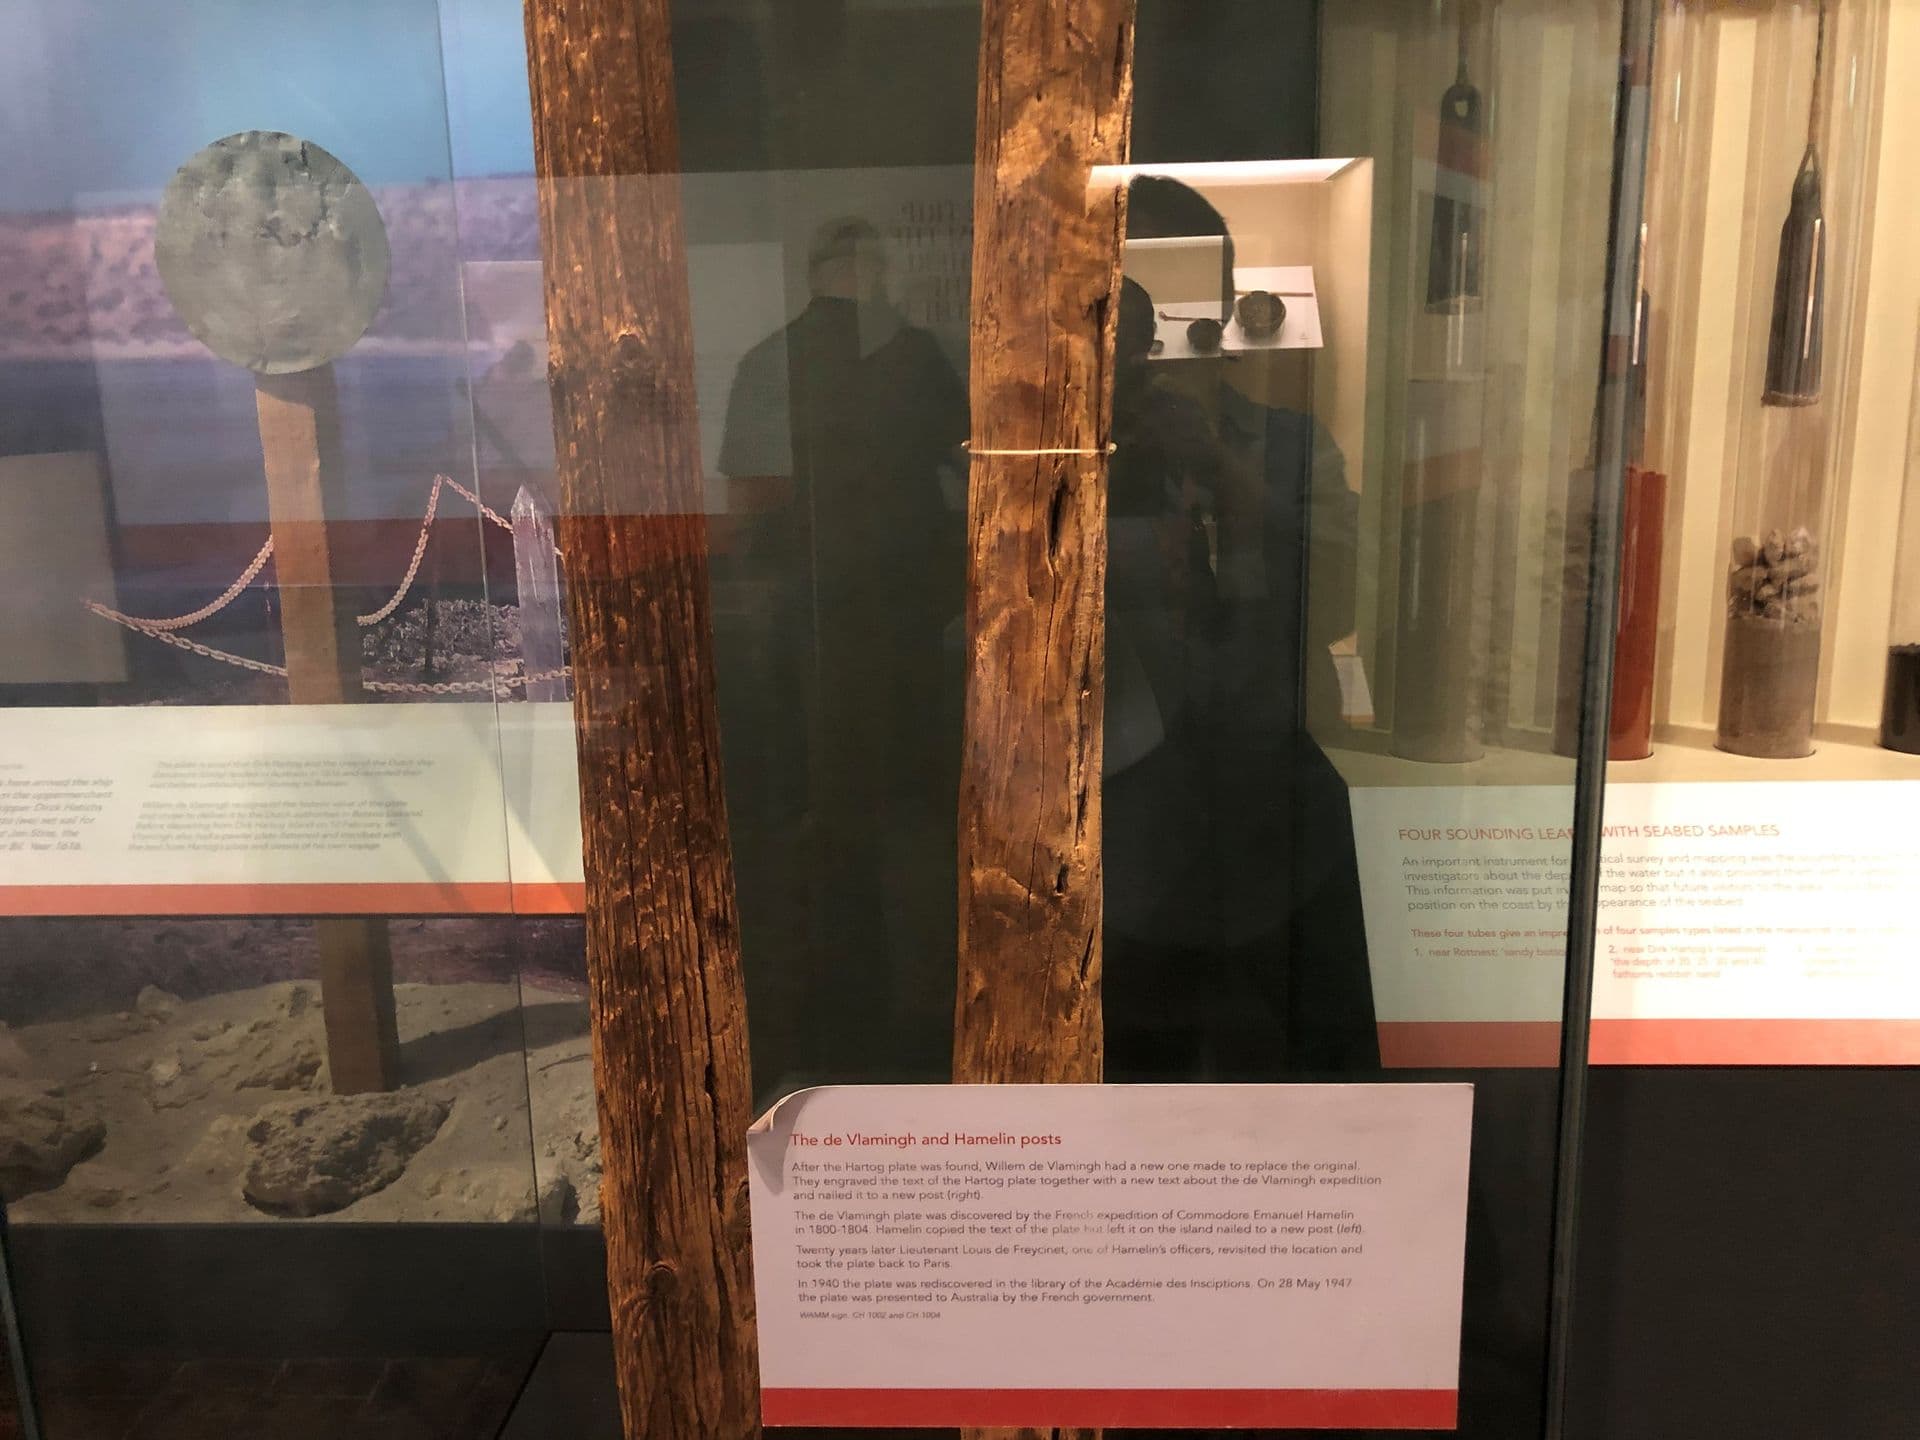
Hamelin's Post
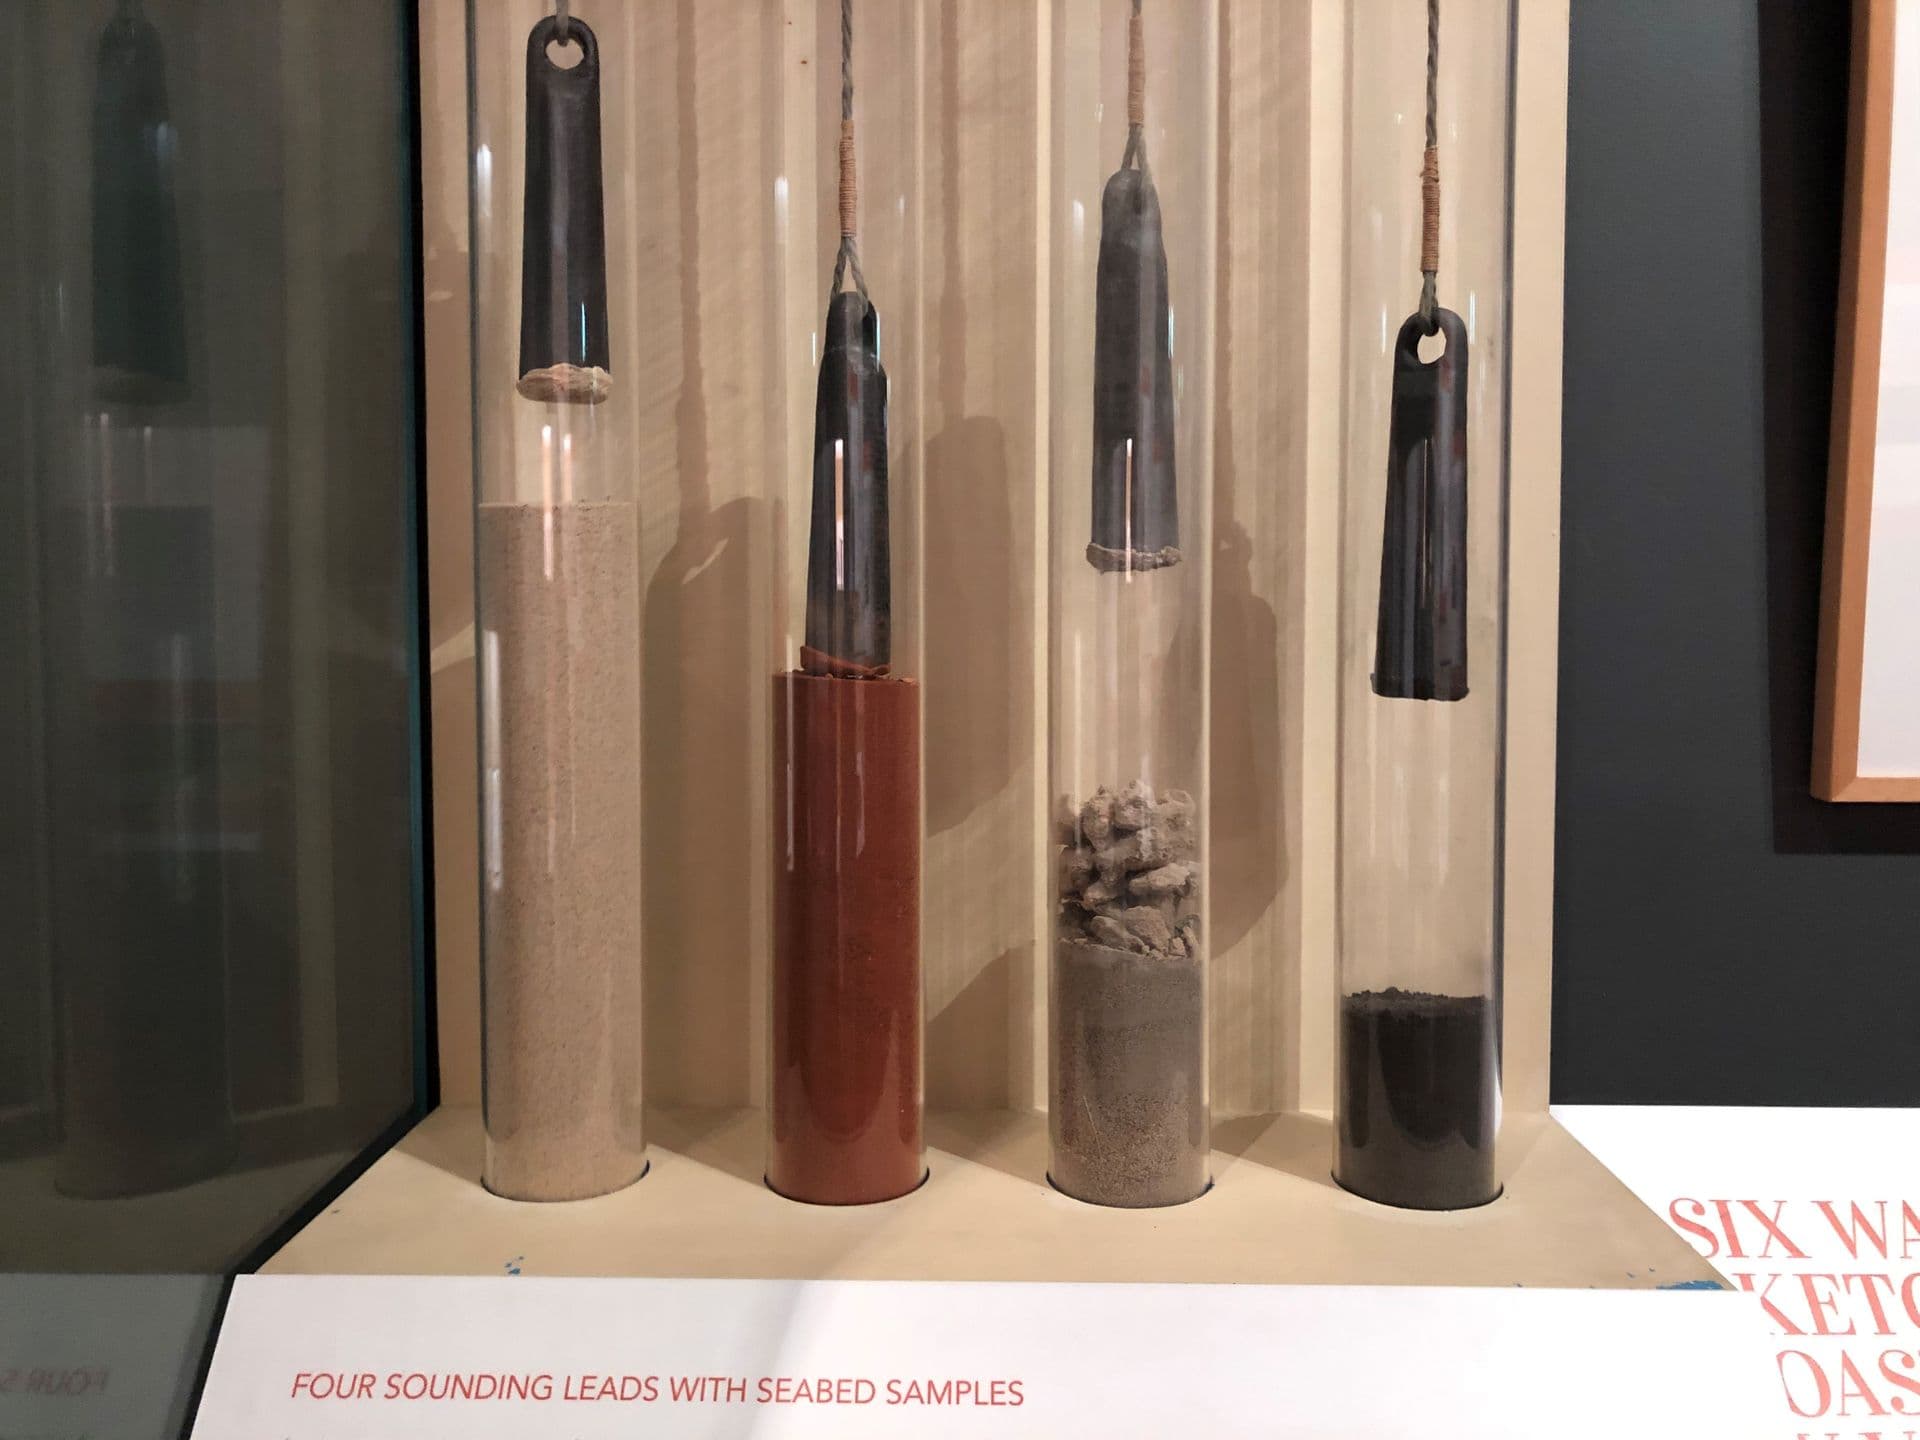
The Ship's Heaving Lead and Line
A recent archaeological find
MMAD_SHIPWRECKS_0106.jpeg